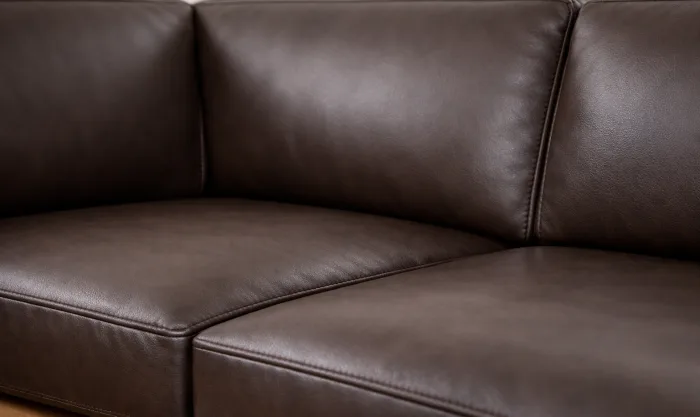
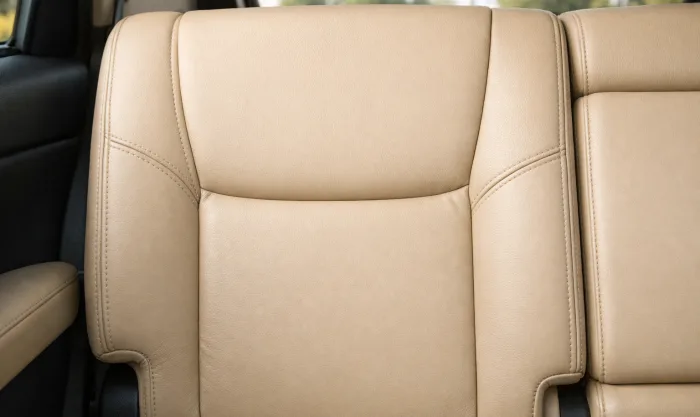
If you just noticed a torn leather seam on your car seat, the first question is not “can it be stitched?” It’s whether the seam is still recoverable without turning into a bigger upholstery job. On LA daily drivers, I see this most on the inboard bolster, where sliding in and out keeps prying the seam open. If the tear is still confined to the stitch line and the leather around it is not shredded, this is often a practical mobile repair instead of a full seat replacement.
How do you know the seam is repairable today?
Look at the damage with the seat pushed forward and the backrest tilted so you can see the full line. A repair is usually realistic when:
- The split follows the original seam and has not wandered deep into the panel.
- The leather on both sides still has enough material to hold new stitches.
- The foam underneath is not blowing the opening apart from the inside.
- There is no hard crease, burn, or brittle crack running several inches past the tear.
If the seam has opened because the seat was overstuffed or the panel shrank badly in the sun, the fix may still be possible, but it needs more than “just sew it.” That is where a technician checks the backing, removes tension, and decides whether a stitch-only repair is enough or whether the panel edge needs reinforcement first. On older leather, especially in cars parked in LA UV, the seam area can look fine until you flex it; then the weak thread line gives way again. If the leather around the tear is crunchy, paper-thin, or peeling, replacement of that panel is sometimes the better call.
What should a proper seam repair actually include?
A real seam repair is not just running a needle through the top. The goal is to rebuild the seam so it sits flat under normal entry and exit stress. A good mobile technician will usually:
- Open the area enough to reach the underside of the seam cleanly.
- Trim loose threads and remove failing stitches without enlarging the tear.
- Check the foam and backing so the seam is not being forced apart.
- Reinforce from behind when needed, then restitch along the original line.
- Match thread color and weight so the seam looks appropriate for the seat.
That last part matters. On many interiors, an overbuilt repair looks worse than the original damage. You want the seam to read like the factory seam, not a visible patch job. If the edge has pulled slightly but the leather is still stable, the repair may be paired with a small seat repair to settle the panel back into shape. The best result is usually a pressed-flat seam that closes cleanly and does not catch your hand or your clothes every time you get in.
How long will it hold, and what should you do before calling?
A well-done stitch repair can last a long time if the seat is not still being abused by the same cause. If the driver slides over the bolster every day, or the seat is already too hard and dry, the area may need reinforcement plus better care afterward. In practical terms, the repair should survive normal use, but it will not make the leather stronger than the rest of the panel. If the panel is failing from age, you want that explained before anyone starts sewing.
Before you call, send three photos: one wide shot of the seat, one close-up of the tear, and one angled view showing the foam shape. Ask these questions: Is the seam still on the original stitch line? Is the leather thick enough to hold another stitch row? Will you reinforce from behind if needed? That tells you whether you’re getting a real upholstery decision or a generic “we can fix anything” answer. For mobile work in Los Angeles, that photo check saves time for both sides, especially when the damage may be fine to repair on site but not worth removing the whole seat.
If your seam is opened but the leather around it is still healthy, don’t wait until the split spreads into the panel. Send clear photos, get a realistic opinion, and decide whether a stitch repair is enough or whether the seat needs more than that. In many cases, fixing it now is the cheaper and cleaner move.
Before & After